
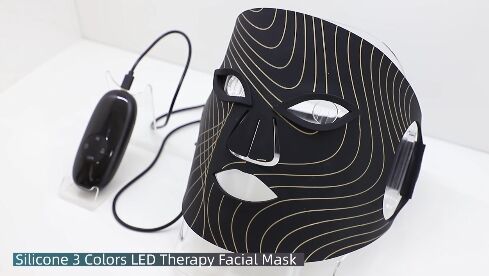
STEP 1 Remove and Clean Makeup
Remove makeup from the entire face, cleanse the face, and apply an appropriate amount of toner, essence and other skin care products on the face to keep the skin moisturized.
(*The mask is waterproof and can be used with a mask.)

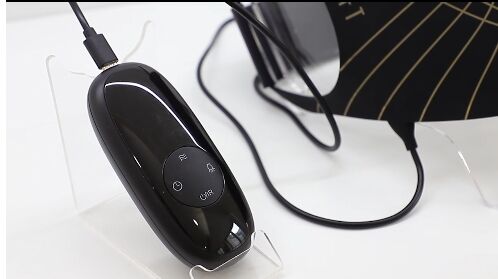
STEP 2 Connect the controller
Please insert the connection line on the mask into the interface at the top of the controller
(*Do not insert other wires into the interface to avoid damage to the instrument.)
(*Please insert the mask connection line in the correct direction, otherwise the instrument will not work or will be damaged.)
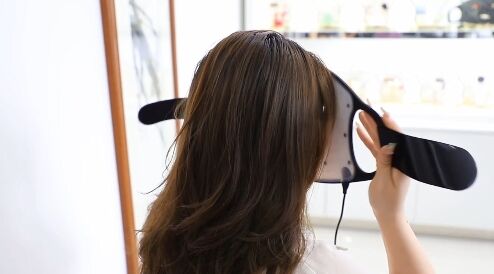
STEP 3 Wear the mask
Firstly, install the small parts of the mask.
Secondly, fit the mask to the face, align the eye area with the eye window.
Thirdly, adjust the tightness of the rear strap to ensure that the mask is comfortable to wear.
(*If the mask is too large or too small, too loose or too tight, please adjust the position and tightness of the strap, but do not tighten the strap too much to ensure that it is comfortable to wear.)
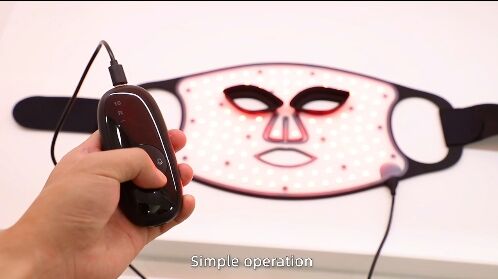
STEP 4 Power-on Care
Long press the [Mode/Power] button:Turn on the device. The mode indicator lights up, the default is red light, and the default treatment time is 10 minutes.
Short press the [Mode/Power] button:Toggle infrared;
short press the [Time] button:Select 10/15/20 minutes of treatment time;
short press the [Light] button:Switch to red light, green light or blue light;
short press the [Intensity] button:Adjust the light brightness.
STEP 5 Turn off & the treatment ends
After the mode ends, the instrument automatically turns off and the treatment ends. If you feel your skin is dry, you can apply skin care products or a soothing moisturizing mask to hydrate and moisturize.
(*Please pay attention to sun protection during the use of the product.)
 EN
EN
 AR
AR
 FR
FR
 DE
DE
 JA
JA
 KO
KO
 PL
PL
 ES
ES
 IW
IW
 TR
TR
